Users of REDCap have the option to use the REDCaptcha external module.
This tool integrates Google’s reCAPTCHA service, which helps protect websites from spam and abuse, into REDCap. A CAPTCHA is a test to tell human and bots apart. It is a small task that easy for humans to do, but hard for bots and other malicious software to figure out.
Jump to topic
Search
Using REDCaptcha
Prerequisites for using REDCaptcha are:
- The survey must be public.
- Surveys must be enabled in the Project Setup Screen.
- At least one instrument must enabled as a survey. (Note: If using a multi-arm project with multiple public survey URLs, all will be protected.)
Enabling the Module
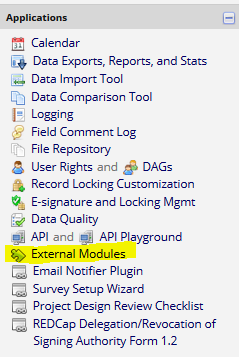
Enable the module in the Applications Menu from within the project by selecting the “External Modules” ink.
![]() Select the “Enable a module” button.
Select the “Enable a module” button.
From within the “Available Modules” screen, select the “Enable” button to the right of the REDCaptcha module.

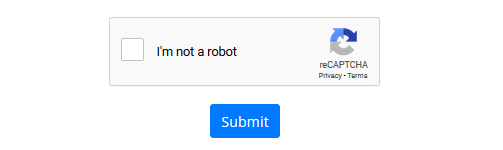
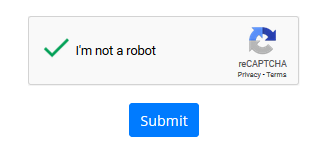
Test the functionality by visiting “Survey Distribution Tools” and selecting “Open Public Survey.” Before being presented with the survey, a message will appear with a checkbox that says “I’m not a robot” and the reCAPTCHA logo, and a submit button.
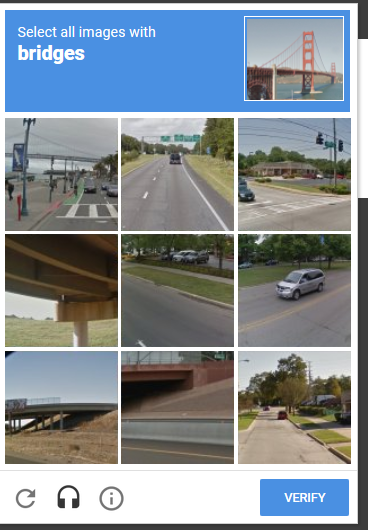
After checking the “I’m not a robot” box and hitting submit, the user may be presented with a picture challenge. In this challenge, a set of images is presented in a grid, and the user is asked to click the squares in the grid that contain a certain item (a bridge, a traffic light, etc.)
Options are presented below the grid to refresh the images (if any do not seem clear) or to play an audio challenge instead (for users who may have trouble with a visual challenge). After completing the challenge, there is a “Verify” button to click.
After clicking “Verify,” if the user has passed the challenge, a green checkmark will appear next to “I’m not a robot” in the original message. At that point, the user must click “Submit” underneath the checkbox to proceed to the survey.
If desired, the CAPTCHA in REDCaptcha can be customized to display a personalized message.
To set up a personalized message, return to the “External Modules” link in the Applicatons menu.
The REDCaptcha module’s item should show buttons to configure or disable the module. Click “Configure.”

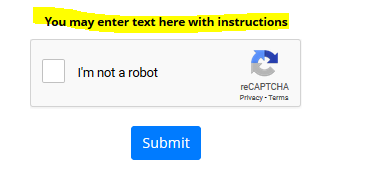
On the screen that appears, custom instructions or a custom error message can be entered for the REDCaptcha.
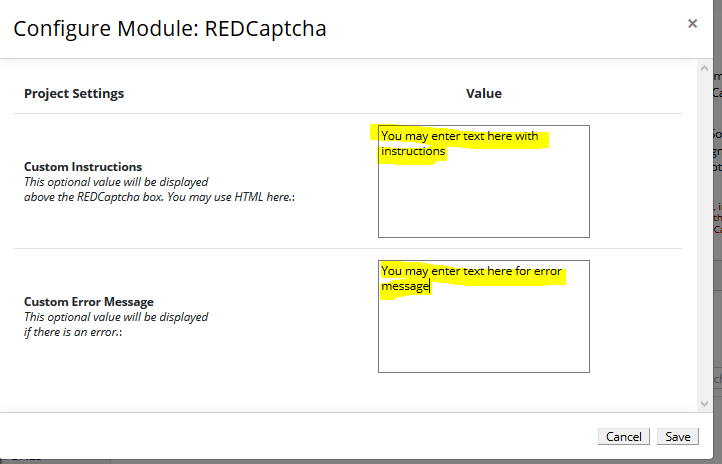
The custom instruction message will appear above the “I’m not a robot” checkbox information.